Kegerator Coupler Parts: Essential Accessories for Your Home Keg
Have you ever questioned why your draft pours either full of foam or completely flat? Those issues often trace back to the little parts that bridge your keg and tap. An improper setup can strip even premium brews of their carbonation and flavor.
We at Installation Parts Supply believe that every great pour is built on top-notch hardware. From homebrewers to casual draft-beer fans, getting to know these Kegerator parts near me parts guarantees the perfect pour.
From washers to gas lines, each part plays a role in maintaining pressure and flavor. Over 90% of dispensing issues trace back to worn or mismatched components. Understanding these parts is the key to a trouble-free draft system.
Key Takeaways
- The correct coupler choice means perfect carbonation and flavor.
- Installation Parts Supply provides reliable plumbing solutions for draft systems.
- Keeping parts clean and checked avoids typical pouring glitches.
- Various brews call for particular coupler designs.
- The majority of malfunctions start with coupler problems.
What Is a Kegerator Coupler?
A flawless draft begins with the proper keg-to-tap link. A keg coupler bridges your CO₂ cylinder or nitrogen tank to the beer line, using compressed gas to push liquid smoothly to your taps. It’s the heart of your draft beer system: no coupler, no flow.
That tiny gadget serves a dual purpose: gas delivery to pressurize and valve control to pour your beer. Its interior consists of a probe, a check valve, and distinct ports for beer and gas. Together, they keep your beer fizzy and antifoam.
| Component | Function | Frequent Problems |
|---|---|---|
| Probe | Pierces the keg’s cap | Leaks if not aligned properly |
| Return Valve | Stops beer from flowing backward | Flat pours from worn seals |
| Gas/Liquid Ports | Links to tubing | Foaming from loose connections |
Misconnecting the coupler is a common error—three out of four novices slip up. The result? Foamy messes, leaks, or worse, spoiled beer. Installation Parts Supply offers compatibility charts and video guides to help you get it right.
Universal designs mean most couplers work similarly, but always match yours to your keg type. A mismatched setup won’t just ruin your pour; it could damage your equipment.
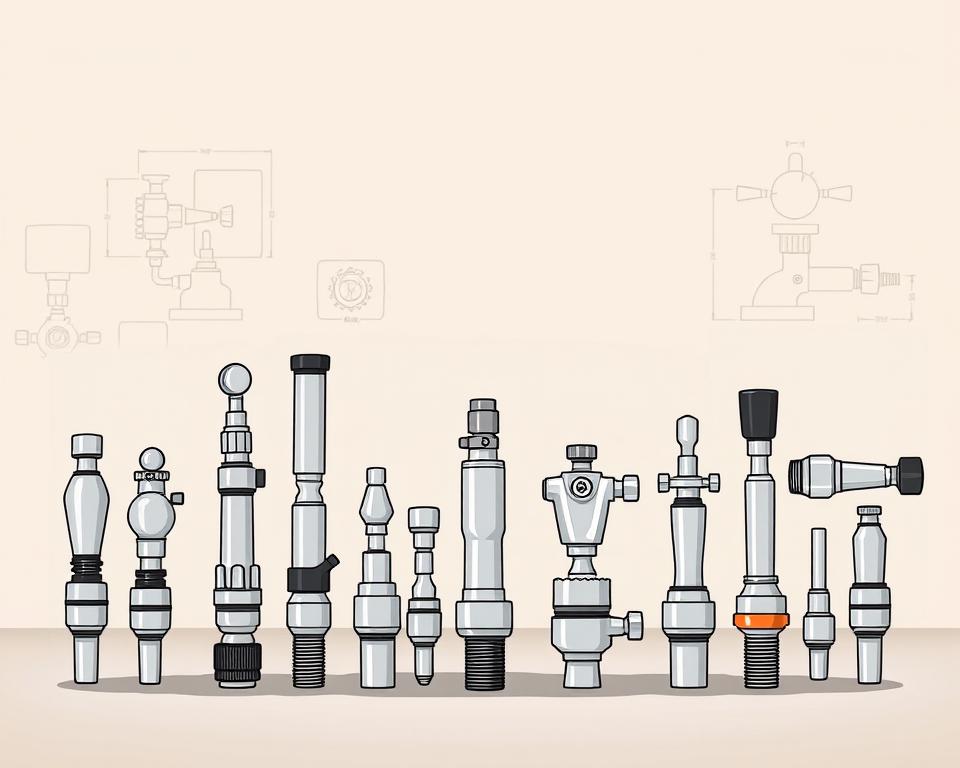
Types of Keg Couplers and Their Uses
Different beers call for different couplers. Matching the right coupler to your beer ensures optimal carbonation and flavor. Here’s how to pick the perfect fit.
D-Type Coupler (Sankey)
It’s used by roughly 85% of U.S. craft breweries. The one-valve mechanism snaps firmly into place. Quick hint: Find the “Sankey” imprint on it.
U System Coupler
Stamped with a harp mark, it’s essential for nitro-charged stouts. Nitro beers rely on its special gas ratio for a silky head. Never force a U coupler onto a standard keg—it won’t seal.
European S-Type Coupler
European kegs like Heineken fit this left-twist coupler. That reverse threading avoids confusion with standard Sankey. Fun fact: It’s slightly taller than its American cousin.
A, G, and M System Couplers
UK/German imports call for these unique couplers:
- A System: Fits Paulaner and Warsteiner kegs perfectly. The “slider” mechanism is foolproof.
- G System: Fits Bass and Boddingtons with its tri-flat stem. Britain’s go-to pub coupler.
- M-Type Coupler: Locks onto Schneider Weisse kegs. You’ll hear a click once it’s set.
Installation Parts Supply’s chart uses green=D, black=U, blue=S. A Midwest microbrewery saved $3,000 yearly by switching to correct couplers. Remember: True compatibility beats “universal” claims every time.
Key Coupler Components Explained
Smooth flows come from well-crafted coupler pieces. These small but mighty pieces ensure your beer stays carbonated and flows flawlessly. Let’s break down the key hardware that keeps your system running.
Probe and Check Valve
The metal probe opens the keg’s seal for dispensing. High-end probes outlast budget ones by threefold. The check valve below prevents backflow and is our most swapped component.
Coupler Hex Nut & Washers
Your seal depends on that hex nut. Choose brass for cost, steel for longevity. Pair it with nitrile washers for cold temperatures—EPDM rubber cracks faster below 40°F.
| Component | Material | Advantage |
|---|---|---|
| Coupler Probe | Stainless Steel | Long-lasting |
| Check Valve | FDA-approved plastic | Stops foam issues |
| Coupler Nut | Brass or Stainless | Cost-effective & durable |
Gas & Beer Ports
Your gas port should see 20–30 PSI pressure. Mismatched pressure causes foam. Stick to 3/16″ ID beer lines for smooth pours. Keep a rebuild kit on hand for quick fixes.
Pro Tip: Replace O-rings biannually or after ~50 kegs. A cheap washer swap saves you from a costly rebuild.
How to Set Up Your Kegerator Coupler
Install correctly for flawless drafts. Proper installation prevents foam, leaks, and flat beer. Follow these steps to connect everything smoothly.
Attaching Coupler to Keg
Lift the handle and align the coupler’s lugs with the keg’s slots. Rotate until secure but don’t overtighten. Low-profile designs reduce height by 4–5 inches for tight spaces.
Use our torque wrench to set nuts at 8-10 ft-lbs. A misaligned probe causes 80% of leaks. New washers keep your system sealed.
Hooking Up Your Gas & Beer Lines
Connect the gas hose to the coupler’s port using 5/16″ MFL fittings. A bit of sealant stops gas leaks. For beer lines, 10–12 feet of 3/16″ tubing balances pressure drop.
| Task | Tool | Note |
|---|---|---|
| CO₂ Line | Pipe dope | Check with 30 PSI leak test |
| Draft Line | Pipe cutter | Cut straight for proper seals |
| Leak Test | Soapy water | Check for 24 hours |
Some setups include apps that track pressure live. A Denver brewery cut foam by 40% using quick-connects from Installation Parts Supply. Stop the CO₂ at the source for serious leaks.
Coupler Troubleshooting
Foamy eruptions are the quickest way to waste beer. Most pouring problems stem from simple fixes once you know where to look. Below are common faults and quick fixes.
Leaks and Foamy Beer
Foam accounts for 68% of draft system complaints. Start by checking your temperature—ideally 38°F for most ales. Warm beer releases CO₂ prematurely.
Check each draft line connection next. Soap and water will bubble up where gas is escaping. Use a wrench to snug loose parts, avoiding over-torque.
- Check ball may hiss and interrupt flow
- Pressure imbalance? Compare your gauge to this chart:
| Beer Type | CO₂ Pressure | N₂ Ratio |
|---|---|---|
| Lagers | 10–12 | N/A |
| Stouts | 25–30 | 75% nitrogen |
Coupler Not Fitting Securely
If your coupler fits loosely, first check for worn O-rings. Our data shows O-ring swaps resolve 40% of loose fits. If the face is warped, swap the entire coupler.
Shims can stabilize wobbly connections. These inexpensive plastic wedges stabilize wobbling connections. Slim couplers fit into tighter kegerators.
Pro Tip: Keep a five-seal washer kit on hand for emergencies. A Chicago bar cut waste by 18% after training staff on these quick fixes.
Remember—frost on your CO₂ tank signals overuse. Allow the tank to warm up prior to any valve tweaks. Recalibrate digital gauges every year.
Maintenance for Your Coupler
A clean draft system means crisp, fresh-tasting beer every pour. Over time, residue builds up, affecting flavor and dispensing performance. A simple routine keeps everything running smoothly.
Disassembly and Soaking
Begin with a full teardown. Take off the handle, pull out the probe and valve. Soak all parts in warm water with 1 oz of PBW per gallon for 15–20 minutes. It dissolves yeast and hop deposits.
Installation Parts Supply’s brush set reaches tight spots. Pay extra attention to the ball valve—it’s a common hiding place for gunk. Rinse thoroughly to avoid soapy aftertastes.
Best Coupler Cleaners
Powdered Brewery Wash excels at safe cleaning. Acids clean quick but may degrade seals. Ultrasonic cleaners remove buildup in pro bars.
- Drying: Remove moisture with air or cloth.
- Disinfecting: Adhere to CFR 117—30-second dwell time.
- Logs: Use a log sheet to record each cleaning.
UV sanitation guards seals longer. Rinse waste per regulations—PBW can damage plumbing. A quick clean routine preserves flavor and longevity.
Wrapping It Up
Savor every pour once you’ve perfected your draft setup. Correct parts, clean routine, and proper install equals perfect pints. Installation Parts Supply backs you with expert help and discount rebuild kits.
Regular upkeep can stretch your hardware lifespan by seven years. Get their checklist and attend a brewmaster session for insider advice. An annual check-up guarantees smooth service—just listen to customers with five years of trouble-free use.
Time to level up: head to Installation Parts Supply and improve your home bar.